gluten-free oatmeal chocolate-chip cookies

I have an easy recipe to share with you today — another winning gluten-free cookie!

gf chocolate oatmeal cokies

– 1/4 cup butter
– 1/2 tsp baking soda
– 1/2 tsp baking powder
– 1/2 cup brown sugar
– 1/2 cup agave or maple syrup
– 3 cups gluten-free rolled oats
– 1 cup chocolate chips
– 2 eggs
– 1/2 cup chopped walnuts
– 1 tsp vanilla
– 1 cup peanut butter

for chocolate drizzle:
– 1/2 cup chocolate chips
– 2 tbsp butter

1. Preheat oven to 350 degrees and line a cookie sheet with parchment paper.

2. In a large bowl, combine brown sugar, agave/maple syrup, and butter. Beat until creamy.

3. Add the eggs, vanilla, baking soda and baking powder and beat well.

4. Add peanut butter and mix.

5. Stir in oats, chocolate chips, and walnuts.

6. Drop by rounded tablespoons onto baking sheet and bake 10-12 minutes until lightly brown around edges.

7. To make chocolate drizzle: microwave chocolate chips and butter for 20 seconds. Stir until chocolate and butter and melted and well-combined, microwaving more if needed. {Be careful not to burn the chocolate!}

8. Once cookies are done, let them cool and then drizzle with melted chocolate.

Enjoy! I love these with a big glass of milk!

happy 4th of july! + chocolate pb rice krispies treats

Happy 4th of July! I’m taking a few minutes today — as I try to every day, but especially today — to be grateful for all the men and women who have fought to establish and protect our nation’s independence. We are all so blessed to live in freedom. Every human being should have that blessing — in fact, it shouldn’t even be a blessing. It is a basic human right.

I’ll also be thinking today of the Four Freedoms Speech that FDR gave in 1941, and especially of the Norman Rockwell paintings that were published in the Saturday Evening Post in 1943. I was fortunate enough to see the original paintings a number of years ago with my Gramps and brother when a traveling exhibit came to town. I feel incredibly blessed to enjoy all of these freedoms. Clockwise from upper left: Freedom of Speech, Freedom of Worship, Freedom from Want, Freedom from Fear.

What are you doing today to celebrate the 4th of July? We’re going over to my aunt and uncle’s house for a backyard barbeque and pool party. I’m looking forward to a sunny day of relaxing with my family.

I signed up to bring dessert {no surprise there!} and I decided to bust out a new recipe that didn’t require me to turn on my oven. {It’s been so dang hot out!} I was inspired by this recipe on Money-Saving Mom for chocolate oatmeal no-bake bars. I love rice krispies treats, so I adapted the recipe to use mostly rice krispies. Here’s my take on it:

pb chocolate rice krispies

chocolate peanut butter rice krispies treats

– 1/4 cup coconut oil
– 1/4 cup maple syrup
– 1 cup peanut butter
– 2 cups mini marshmallows
– 1 cup chocolate chips
– 1 tsp vanilla extract
– 1 cup rolled oats
– 3 cups rice krispies

1. Grease a 9 x 13 glass pan and set aside.

2. In a big pot over medium-low heat, melt coconut oil, maple syrup, and peanut butter. Stir until melted and well-combined. {Be careful it doesn’t burn!}

3. Add vanilla and chocolate chips. Stir until chocolate is all melted.

4. Add marshmallows and stir until the marshmallows are melted.

5. Remove from heat. Add rolled oats and stir. Add rice krispies, one cup at a time, until well-combined.

6. Pour into the glass pan and refrigerate until chocolate has hardened and the bars have “set.”

Enjoy!!

pb chocolate rice krispies

If you liked this recipe, here are a few similar desserts that would be great to bring to a 4th of July party or potluck:

rice krispies treats with mini M&Ms
classic lemon bars
patriotic fruit cobbler
pb cup brownies
red velvet crinkle cookies

gluten-free pumpkin oatmeal chocolate-chip cookies

Happy Friday, everyone! I can’t remember if I mentioned it on the blog yet, but my brother has recently started eliminating gluten from his diet, so I’ve been experimenting in the kitchen to see if I can come up with some yummy gluten-free treats! Here is a recipe that went over well in my household. Hope you enjoy!

pumpkin cookies

gluten-free pumpkin oatmeal chocolate-chip cookies

– 2 cups gluten-free oats
– 1 egg
– 1/4 cup maple syrup or agave
– 1 (15 ounce) can pumpkin puree (not pumpkin pie)
– 1 ripe banana, mashed
– 1/2 cup peanut butter or almond butter
– 1/2 cup ground flaxseed
– 2/3 cup dried cranberries
– 1/2 cup chopped walnuts
– 1 tbsp cinnamon
– 1 tsp pumpkin pie spice
– 1 tsp vanilla
– 1 tsp baking soda
– 1/4 tsp salt
– 1 cup chocolate chips

1. Preheat the oven to 350 degrees F. Line a baking sheet with parchment paper.

2. Beat the egg. Stir in maple syrup, mashed banana, peanut butter, pumpkin puree, and vanilla. Mix well.

3. In a separate bowl, mix together the dry ingredients: oats, ground flaxseed, cinnamon, pumpkin pie spice, baking soda, and salt.

4. Slowly, add dry ingredients to wet ingredients, and stir until combined.

5. Add chocolate chips, dried cranberries, and walnuts, and mix well.

6. Drop batter by rounded tablespoons onto baking sheet. Bake for 10-12 minutes, until cookies are set in the middle and browned at the edges.

Enjoy! And have a wonderful weekend, everyone! 🙂

MPM-Spring
This post is featured on Menu-Plan Monday!

year of kindness challenge: week 22

year of kindness button

Happy Wednesday, friends! I made my first smoothie of the summer for breakfast this morning and it was fabulous! I just threw a random assortment of fruit that I had in my fridge into the blender: a handful of strawberries, some honeydew, some cantaloupe, a small container of blueberry greek yogurt, ice, spinach, and some coconut water to get things movin’. It tasted delicious! Definitely going to be making a lot of smoothies this summer! I’d love to hear some of your favorite smoothie recipes — please share in the comments below! 🙂

There has been SO much kindness happening in my world this week! The thing about kindness is, once you start to notice and pay attention to it, you see kind acts everywhere! That might be my favorite thing about this #yearofkindness challenge: becoming more aware and attuned to kindness in the world around me.

Here’s just a sampling of kindness I noticed this week:

  • I saw many doors held open for people — at the bank, at the grocery store, at a restaurant. Proof that chivalry {and kindness} are alive & well!
  • I spoke and taught writing workshops at my alma mater middle school, and two students wrote me very sweet, handwritten notes of gratitude. Made my week!
  • Many, many friends and acquaintances, in daily life and in the blogosphere, have preordered copies of my dad’s new book WOODEN & ME … I can’t even tell you how much your support means to me and my family!!
  • My friend and mentor Tania took the time to talk about a painful recurring dream I was having … with her compassion and guidance, I was able to work through some things and come to a place of healing. I am so so grateful for her friendship!
  • On a recent walk on the beachfront path in my town, I noticed an older couple walking along with a trash-bag and one of those trash pick-up gripper sticks, picking up litter all along the beach.

I also loved this Huffington Post piece by Marlo Thomas recapping some random acts of kindness that popped up in the news! http://www.huffingtonpost.com/marlo-thomas/12-acts-of-random-kindness_b_3312193.html?utm_hp_ref=tw#slide=more298511

The Week 22 Kindness Challenge is to do an act of patience. This could mean staying calm and not getting upset when someone cuts you off in traffic; or letting someone go ahead of you in line; or politely telling that telemarketer, “Thanks but no thanks” instead of saying something rude. Maybe it means patiently reading your child their favorite book three times in a row, or patiently listening to a friend’s long, drawn-out story on the phone without interrupting. Approach these acts of patience with an open heart and thoughts of kindness, and what once seemed like a chore might turn out to be surprisingly enjoyable — perhaps even full of grace.

As always, blog about your experiences and include your links in the comments section below, or feel free to send me an email at dallaswoodburn <AT> gmail <DOT> com.

Have a wonderful week!
Dallas

—————————–

year of kindness archives:
– week 1 challenge: donate items to those in need
– week 2 challenge: leave quarters & note at laundry machine
– week 3 challenge: write & send a kind handwritten note
– week 4 challenge: give hot chocolate to someone outside in the cold
– week 5 challenge: do something kind for a neighbor
– week 6 challenge: deliver valentines to a nursing home
– week 7 challenge: donate to a food pantry
– week 8 challenge: donate toiletries to a shelter
– week 9 challenge: post a kind note in a public place
– week 10 challenge: do something kind for a child
– week 11 challenge: thank someone in a genuine & meaningful way
– week 12 challenge: deliver baked goods to a fire station
– week 13 challenge: give someone flowers
– week 14 challenge: donate books
– week 15 challenge: reach out and spend time with people
– week 16 challenge: smile at everyone you meet
– week 17 challenge: pick up litter/trash
– week 18 challenge: write a kind note to a mom figure in your life
– week 19 challenge: leave an extra-generous tip
– week 20 challenge: donate blood/join bone marrow registry
week 21 challenge: visit a cemetery and pay respect

my favorite. dessert. ever!

Happy Friday, friends! Hope you have something fun planned for this weekend. 🙂 I am getting ready to head to LA this afternoon for my cousin Amanda’s bachelorette party! I am so excited! It will actually be the first bachelorette party I’ve ever attended. I’m looking forward to seeing my cousins and friends and celebrating Amanda’s final days of singledom!

I have a delicious recipe to share with you today! I made this for my dad’s birthday cake on Monday. He loves peanut butter and chocolate, so I took my peanut butter cup brownies and upgraded them to a “brownie-cake” … and the highlight is definitely the homemade peanut butter frosting! This frosting is SO simple to make, and if you like peanut butter, you are in for a treat! I predict you will be licking the bowl. {Or maybe that’s just me!}

pb brownie cake

I will warn you in advance, I didn’t even try to healthify this dessert … I don’t even want to know how many calories/fat/sugar/etc. is in a slice of this! Sometimes you just have to treat yourself, right? But I did just come across this recipe by Lindsay at The Lean Green Bean for healthy sweet potato brownies that I might try using in this recipe in the future! If you try it out, let me know how it goes!

I used my fave boxed brownie mix … Ghiradelli dark chocolate!

brownie mix

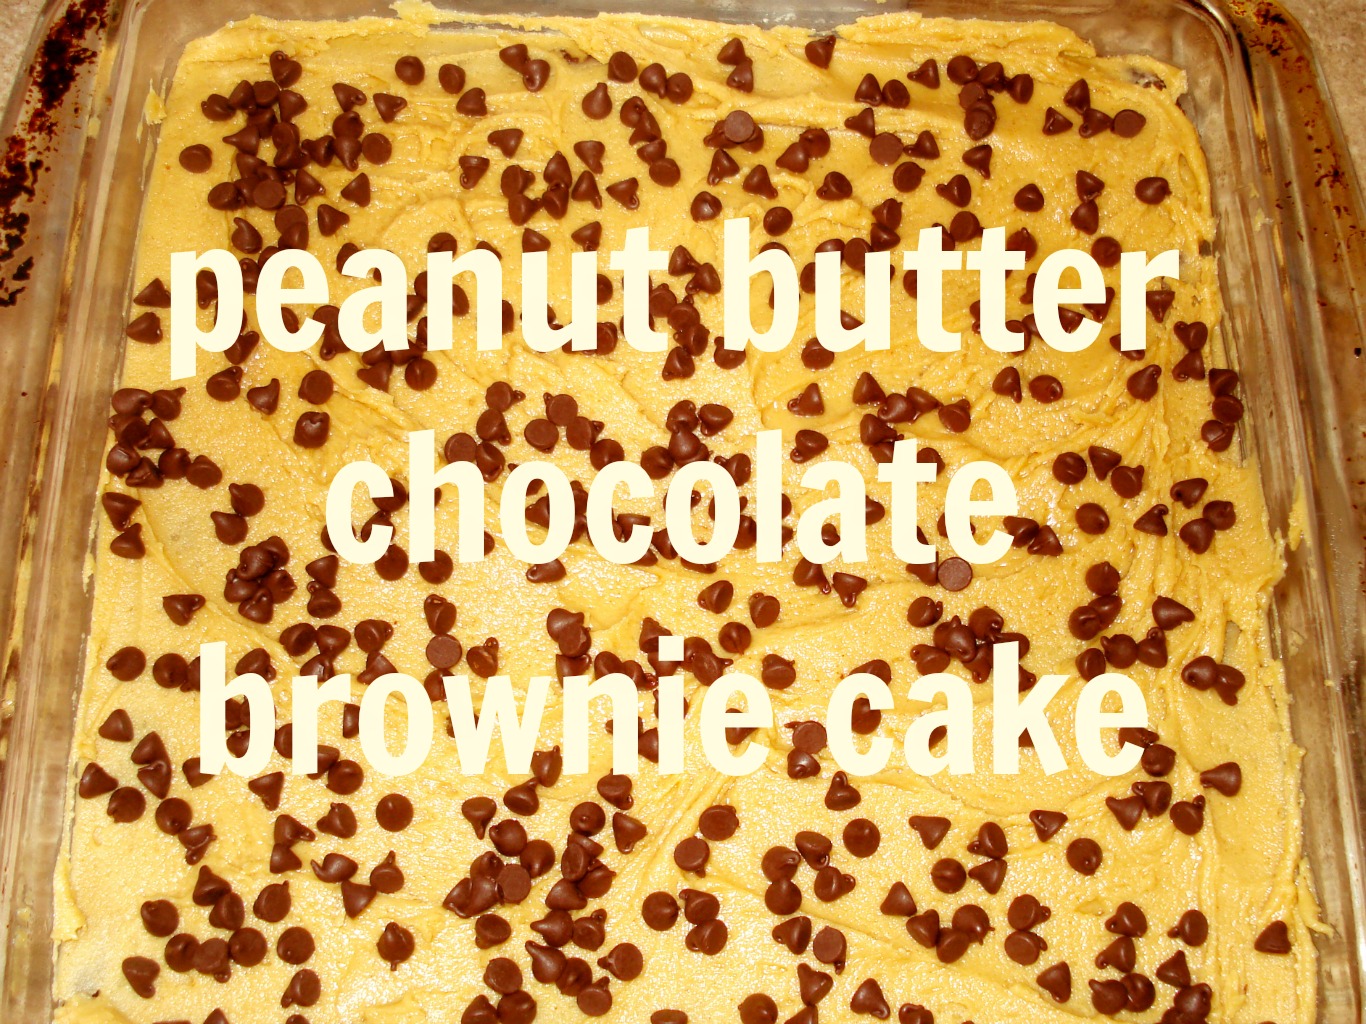
I made the batter as directed {if you’re trying to healthify things a little, you could substitute unsweetened applesauce for half of the oil} and poured the batter into a lightly greased 8 x 8 pan. Then I stuck in mini dark chocolate peanut butter cups in a tic-tac-toe pattern.

brownies prebake

Bake at 325 degrees for 45 minutes, or until a toothpick inserted in the center comes out clean.

brownie cake

Once the brownies were cool, I frosted them with homemade peanut butter frosting!

homemade peanut butter frosting
– 1/4 cup butter, softened
– 2/3 cup creamy peanut butter
– 3/4 cup powdered sugar
– 2 tbsp milk {to taste … depending on your frosting consistency preferences!}

1. Mix together the butter and peanut butter until well blended.

butter pb

2. Slowly add the powdered sugar and beat until smooth. Add milk until it gets to desired consistency.

frosting

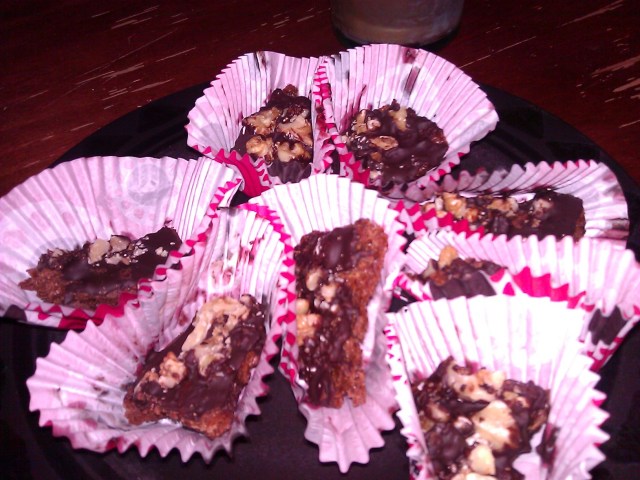
After frosting the brownies, my final step was sprinkling mini chocolate chips over the frosting layer. Ta da! My favorite dessert ever!

pb dessert

These disappeared from our house in record time!

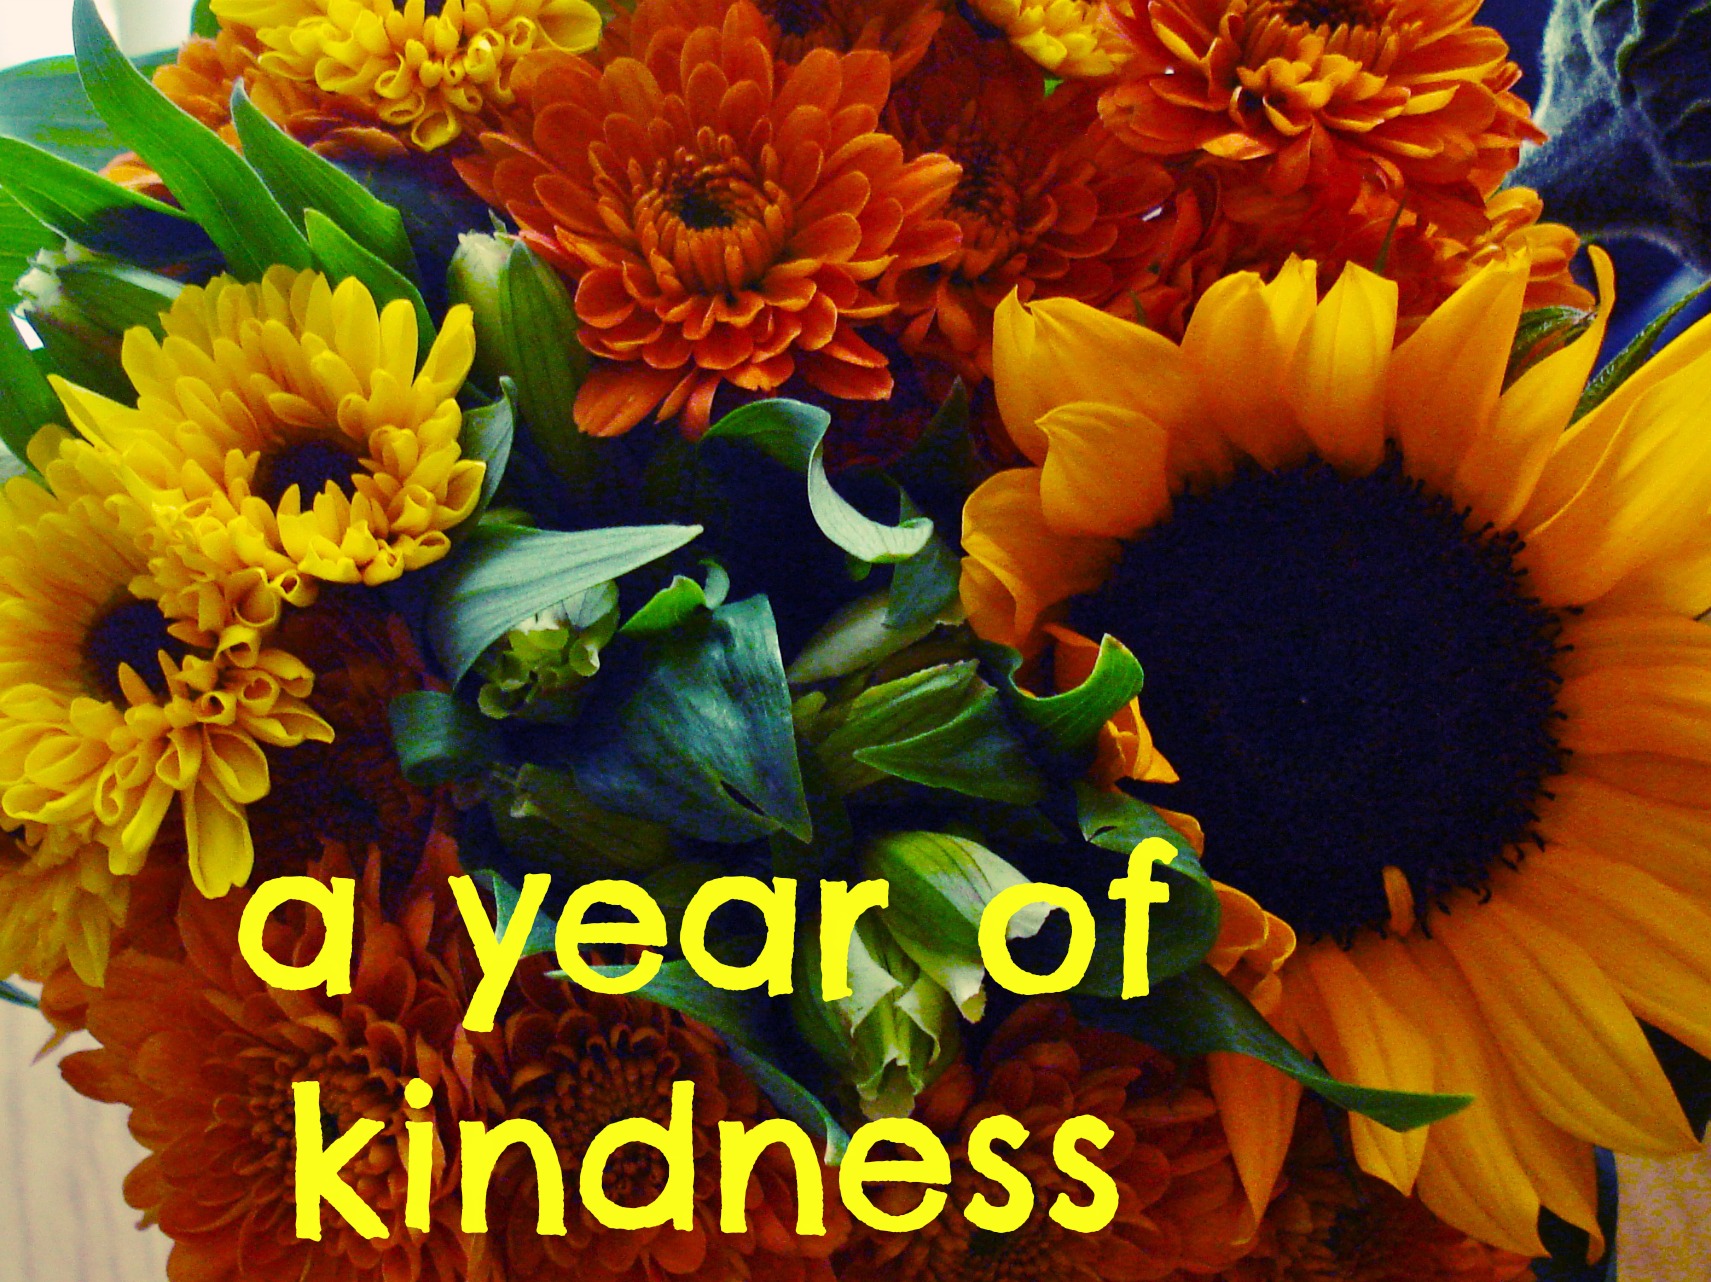
Thank you also for the sweet birthday wishes! I had a wonderful birthday. My family took me out for dinner and even surprised me with sunflowers! How pretty and happy are these flowers?

bday girl

Thanks also to everyone who took part in my birthday beauty giveaway, and welcome to all our new subscribers! The two randomly selected winners are:
– Big Beauty Basket: Anna Wang
– Travel Beauty Clutch: Jo Tran

I will email you both to get your mailing addresses to send you the prizes!

Happy weekend, everyone! Eat something yummy and spend time with those you love!

MPM-Spring
This post is linked up as part of Menu-Plan Monday!

kitchen tip tuesdays: my favorite {healthy!} chicken salad

kttovenmittbanner425

Hi, friends! I have a quick, easy and healthy recipe to share with you today as part of Kitchen Tip Tuesdays! I love chicken salad but I don’t like mayonaise very much, so I was on a mission to find a healthier recipe for chicken salad that I could make at home. I think I found a winner!

I like to bake chicken breasts ahead of time during the weekend {see my earlier post about making the most of oven time} so I typically have cooked chicken breasts in a tupperware container in my fridge. Often to save time and extra dishes, I mix up the chicken salad in the tupperware container, and I’m ready to grab and go if need be!

chicken salad

healthier chicken salad
– 2 cups cooked, shredded chicken breast
– 1/2 cup plain Greek yogurt {you could add more or less yogurt as desired}
– 2 tbsp hummus
– 2 stalks celery, chopped
– 1/4 cup dried cranberries
– 1/4 cup slivered almonds
– salt and pepper to taste

1. Stir Greek yogurt and hummus into chicken until fully incorporated.

2. Add chopped celery, dried cranberries, slivered almonds, and mix well.

3. Add salt and pepper to taste. Enjoy!

It’s a great lunch, especially as the weather continues to warm up! I like serving the chicken salad over a bed of baby spinach.

chicken salad lunch

Have a great day! I’ll be back tomorrow with a post I’m really excited to share with you! 🙂

Till soon,
Dallas

MPM-Spring

This post is also linked up with Menu-Plan Mondays!

springtime veggie pasta bake

Hi everyone! I have a simple, delicious and healthy recipe to share with you today. This meal is simple to make, easily adaptable to your preferences, and is bursting with fresh veggie flavors! Hope you enjoy!

springtime pasta bake

– 1/2 box whole-wheat pasta {I used rotini}
– 1 yellow squash
– 1 green bell pepper
– 2 roma tomatoes
– 1/2 sweet onion
– 1 cup fresh baby spinach
– 1 tbsp minced garlic
– a drizzle of olive oil
– your sauce of choice {I used a combination of tomato sauce & pesto}
– 2 cups shredded cheese {I used an Italian blend}

1. Preheat oven to 350 degrees.

2. Bring a pot of water to a boil and cook the pasta according to package directions.

3. Chop and dice the veggies. Toss them in olive oil and saute them in a large pan on medium heat, until onion and garlic are fragrant and spinach is wilted.

4. Drain the pasta and pour cooked noodles into a large casserole dish. Toss with sauce and veggies until everything is well mixed.

5. Top with shredded cheese.

6. Bake for 15-18 minutes, until cheese is melted and bubbly.

Serve and savor! This is one of those recipes that makes terrific leftovers, too!

pasta bake

What are some of your favorite springtime recipes?

if you liked this post, you might also enjoy:
easy veggie, potato & sausage bake
cilantro-lime quinoa with chicken
tilapia with pineapple salsa

vegan healthier toffee bars

I’m so excited to share a guest recipe post today! This delicious recipe comes from Lisa of Lisa’s Lentils, who I was matched with for March Foodie Pen Pals. {Tune in Monday for a post about the delicious treats she sent me!} Lisa was kind enough to share this recipe with us today. It was originally published on her blog here.

toffee-bars

{vegan} healthier toffee bars

  • 2 tbsp Earth Balance spread
  • 2/3 cup coconut sugar
  • 1 flax egg {1 tbsp flaxseed + 3 tbsp warm water}
  • 1 tsp vanilla
  • 1 cup unsifted oat flour
  • 1 dark chocolate bar, crumbled
  • 1 cup chopped walnuts {optional}

1. Preheat oven to 325 degrees and place parchment paper in a 9×12 pan.

2. Cream the Earth Balance spread and coconut sugar.

3. Add the flax egg, vanilla, and oat flour and mix well.

4. Spread the mixture into the prepared pan.  Make sure it’s very thin.

5. Bake for 20 minutes.

6. Remove from pan and immediately cover with the chocolate pieces and walnuts.

7. Cut into squares.

8. {Optional} Refrigerate for 30 minutes before serving.

Yum, doesn’t that toffee look delicious?? I can’t wait to make this recipe myself this weekend. Thank you Lisa for taking the time to share with us today! And make sure to swing by Lisa’s blog, Lisa’s Lentils, for more healthy and satisfying recipes.

*Are you interested in writing a guest post for Day-by-Day Masterpiece? Feel free to email me at dallaswoodburn <AT> gmail <DOT> com and maybe we can set something up!

baked cinnamon french toast

Do you have stale bread to use up? This recipe for baked cinnamon French toast is a winner! As soon as I saw this drool-worthy recipe on The Pioneer Woman’s blog, I knew I had to make it.

The recipe would be perfect for a weekend brunch, and it’s so easy you could make it on a weekday, too! Here’s my recipe, slightly adapted from The Pioneer Woman’s original version:

baked cinnamon french toast

  • 1 loaf slightly stale sourdough or French bread
  • 8 eggs
  • 2 cups skim milk
  • 1/2 cup heavy cream
  • 1/2 cup brown sugar
  • 2 tbsp vanilla extract
  • 1 tbsp cinnamon

for the topping:

  • 1/2 cup flour
  • 1/3 cup brown sugar
  • 2 tsp cinnamon
  • 1/4 tsp salt
  • 1 stick cold butter
  • fresh fruit {optional}

1. Grease a 9 x 13-inch glass baking pan with butter. Tear bread into chunks (or cut into cubes) and evenly distribute in the pan.

torn bread

2. Beat eggs. Add the milk, cream, 1/2 cup brown sugar, 1 tbsp cinnamon, and vanilla.

3. Pour the egg mixture evenly over bread. Cover tightly and store in the fridge several hours or overnight.

with egg

4. In a separate bowl, make the topping: mix flour, 1/3 cup brown sugar, 2 tsp cinnamon, and salt.

5. Cut butter into small pieces.

6. Stir the butter into the flour mixture until it resembles fine pebbles. If you are baking the casserole in the morning, keep the topping in a plastic bag or container in the fridge until ready to bake.

7. When you’re ready to bake the casserole: preheat the oven to 350 degrees.

8. Remove casserole from the fridge and sprinkle flour crumb mixture over the top. {If you’re using fruit, sprinkle on before the crumb mixture. Next time, I’m going to try using apples. I think strawberries would be delicious, too!}

9. Bake for 45 minutes for a softer, more bread pudding texture. Bake 1 hour or more for a firmer, less liquid texture.

french toast

10. Scoop out individual portions with a large spoon. Top with more fruit if desired and drizzle with maple syrup.

Enjoy! Store any leftovers covered in the fridge and microwave to reheat. I enjoyed this dish for a decadent breakfast three days in a row. 🙂

How do you add little moments of luxury to your weekday routine?

Kitchen Tip Tuesdays: making the most of oven time

Hi everyone! Today I’m excited to be participating in Kitchen Tip Tuesdays, hosted by Tammy’s Recipes!

kttovenmittbanner425

I have a simple tip to share: something I’ve just started doing recently that relates to meal-planning, saving time and saving money/energy!

I eat a lot of chicken — for most meat recipes I use chicken, whether it’s baked with veggies, diced up in soups and chili, shredded in the crock pot, or tossed with a bit of mayo to make chicken salad sandwiches.

I used to just bake the chicken when I needed it. But one night I had an idea: why not bake some extra chicken to use later in the week? It seems simple, but it had never crossed my mind. Now, whenever I am baking a chicken dish, I put a couple extra chicken breasts in the oven. I usually cook them in a glass pan with a little bit of water or chicken broth in the bottom of the pan to keep them moist.

That way, I have cooked chicken to use the rest of the week! Now it’s so easy to add cooked chicken to salads, rice, sandwiches, or pasta. Making dinner is so much quicker!

This tip can also work with roasting veggies, baking cookies, or making bread. Now pretty much whenever I need to turn on my oven for one dish, I think, “Is there another dish I can also cook right now? This maximizes my use of the oven and saves energy, time, and meal preparation later!

What are your kitchen tips? I’d love to hear in the comments section below!