healthy chicken and bell peppers with goat cheese

Hi, everyone! Happy Thursday! Hope your week is thrumming along nicely. 🙂

A little while ago, I promised you this recipe that my mom made for dinner one night during our family reunion in Pittsburgh. Not only is it easy, healthy, and delicious, I love this recipe because it is full of flavor and easily customizable. Don’t like goat cheese? Substitute feta or parmesan, or leave out the cheese altogether. Mom served it over orzo pasta; I like it best over quinoa. Whatever suits your fancy! This also makes great leftovers and heats up well. Hope you enjoy!

chicken and peppers

chicken & bell peppers with goat cheese

– 2 large chicken breasts, or a package of chicken tenders
– 1/2 cup flour
– 2 tbsp olive oil
– 2 bell peppers; I like the combination of orange and yellow
– 1 small onion
– 1 can diced tomatoes
– 1 small can tomato sauce
– 1 tbsp minced garlic
– fresh basil, to taste
– goat cheese {or feta or parmesan, if you prefer}
– salt and pepper, to taste
– pasta or quinoa, for serving

1. Slice the bell peppers and onion into chunks and set aside.

2. Cut the chicken into small pieces. Pour the flour into a pie pan or shallow dish so it is an even layer. Sprinkle with salt and pepper to taste. With your fingers, roll the pieces of chicken in the flour until they are evenly coated.

3. Pour the olive oil into a skillet over medium heat. When oil is hot, pour in the chicken and saute until cooked through. The flour will create a nice golden-brown crispiness. Once chicken is cooked, remove from pan and set aside.

4. In the same olive oil, saute the bell peppers and onion for about 10 minutes, until the peppers are soft and the onion is translucent.

5. Add the diced tomatoes, tomato sauce, minced garlic, and chicken. Cover and simmer on low.

6. Finely chop the basil. Just before serving, add the basil and goat cheese, to your taste.

7. Serve by itself, or over pasta, rice or quinoa.

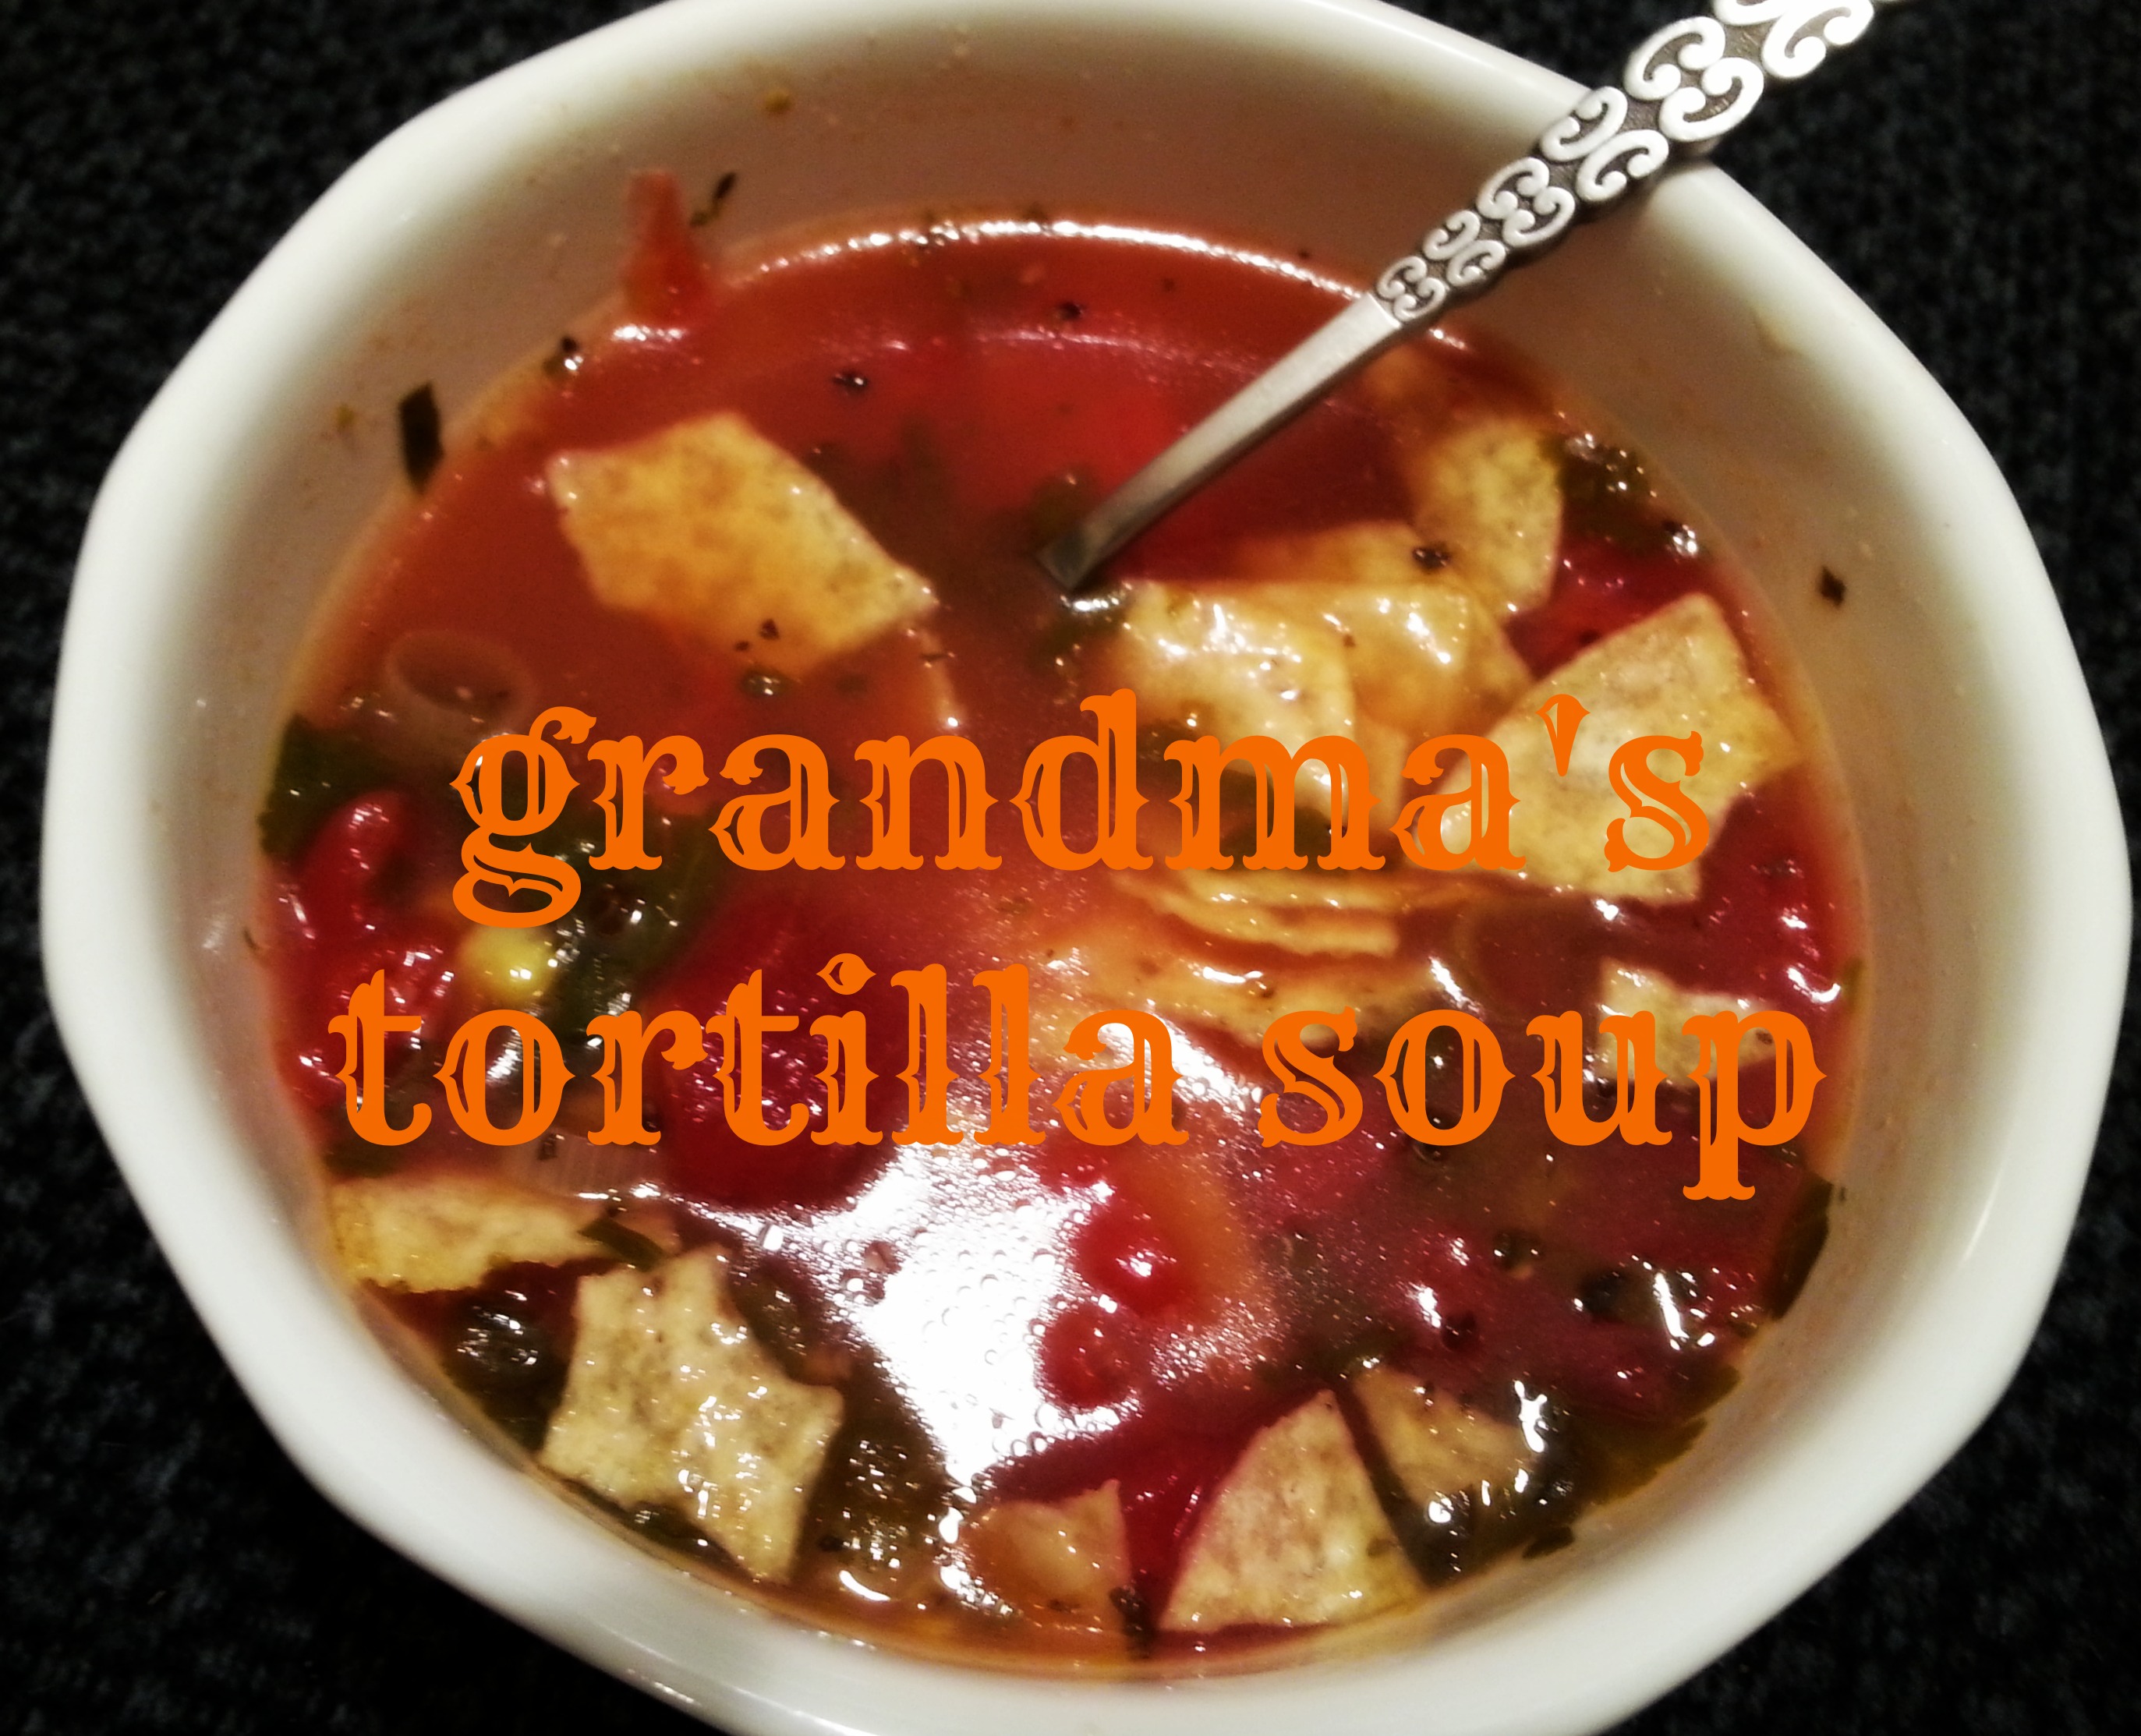
Cheers! {We enjoyed this for Mother’s Day dinner, pictured below!}

mothers day

super-simple graham cracker caramel pecan cookies

Hello, friends! I’m popping by with a quick, easy-peasy recipe for you today! I saw this recipe on the back of my box of Safeway graham crackers, and it looked intriguing so I decided to try it out.

It turned out delicious and was so simple to make, with only four ingredients! Plus everything comes together in a flash because you only need to bake the cookies for 10 minutes. My Grandpap said, “I don’t know what these cookies are called, but they are so good it’s sinful!” 🙂 Hope you enjoy!

sinful graham cracker pecan cookies

sinful graham-cracker caramel pecan cookies

– 1 sleeve graham crackers {about 9 large rectangular crackers}
– 1/3 cup butter
– 1/3 cup packed brown sugar
– 1 cup chopped pecans

1. Preheat oven to 350 degrees. Line a baking sheet with aluminum foil.

2. Place graham crackers close together in a single layer on top of the aluminum foil.

graham crackers

3. In a saucepan, melt the butter. Add the brown sugar and stir together until butter and sugar are well-combined. Bring mixture to a boil and cook for 4 minutes, stirring continuously.

4. Pour brown-sugar mixture over the graham crackers and spread evenly across the crackers with a spatula or wooden spoon.

5. Scatter pecan pieces on top of the caramelized sugar.

graham crackers prebake

6. Bake for 10 minutes.

graham crackers after baking

7. Remove from oven and let cool for 10 minutes before cutting them in half to make square cookies.

graham cracker cookies

And that’s it!

What are some of your favorite quick, simple recipes?

if you enjoyed this recipe, you might also like:
3-ingredient banana cookies
peanut butter breakfast cookies
ridiculously easy pumpkin spice cookies

pumpkin spice cupcakes w/cream-cheese frosting

Well, the Giants got a smack-down last night. It was pretty pitiful.

But Dana and I still had a fun time chowing on deep-dish pizza, catching up {we ended up talking more than watching the game, since the game was so depressing} and playing with her adorable new kittens, Sadie and Hunter! They are so inquisitive, full of energy, and TINY! Here’s a photo I snapped of Sadie cuddled up on Dana’s lap.

sadie

So soft and fluffy! I couldn’t stop petting her.

One good thing about the evening was that at least we had yummy baked goods to help ease our sorrows!

baseball cupcakes

These cupcakes might not have been very lucky, but they sure were delicious! And super easy to make. I got some requests on Instagram for the recipe, so I thought I would share it on here!

My secret weapon: Trader Joe’s pumpkin bread mix. This stuff is amazing! Hands-down my favorite baking mix ever. And it’s seasonal, so stock up while you can!

trader joes pumpkin bread

I’m sure you could use a different pumpkin spice baking mix in a pinch, or make pumpkin muffins from scratch — here’s a recipe I love from Snixy Kitchen.

pumpkin spice cupcakes w/cream-cheese frosting

– 1 package Trader Joe’s pumpkin bread mix
– 2 eggs
– 1 cup water
– 1/2 cup vegetable oil
– 4 oz cream cheese, softened {I used 1/3 reduced-fat kind}
– 1/4 cup butter, softened
– 1 & 1/2 cups powdered sugar

1. Preheat oven to 400 degrees F.

2. In a large bowl, combine baking mix, eggs, vegetable oil and water. Mix until well combined.

3. Pour batter into a muffin tin lined with paper cups. In order to make these rounded baseball cupcakes, I filled the cups all the way to the top with batter. If you would like flatter cupcakes, fill the cups 3/4 of the way full.

4. Bake for 18-22 minutes, until a toothpick inserted in the middle comes out clean. Remove cupcakes from the muffin tin and set on a rack to cool.

5. While cupcakes are cooling, make the frosting: using a mixer, beat together the softened cream cheese and softened butter until smooth and well-combined.

6. Slowly add the powdered sugar, combing well after each addition. I used approximately 1.5 cups, but you can increase or reduce the amount depending on desired sweetness.

7. If frosting is too thick, you might need to add a little heavy cream or milk to thin it out, but I love my frosting thick, so I didn’t add any.

8. When cupcakes are completely cool, use a knife to generously spread them with frosting. To make baseballs, use a red gel frosting to make dotted lines in two half-moons, like the threading on a baseball.

baseball cupcakes

ENJOY!

In the meantime, I’ve got my Giants spirit going all day today! Game 7! Let’s go, San Francisco! 🙂

giants spirit

Questions of the day:

  • Are you watching the World Series? Who are you rooting for?
  • What is your favorite autumn dessert?

mid-week meditation #13

Good morning, everyone, and welcome to our new subscribers! {I’m especially loving Kiley’s blog, Food Friends, which I just subscribed to… I’m already eying her sweet potato & sausage skillet as a possible dinner recipe for tonight!}

Yesterday I spent the whole day with Allyn which was such a treat! We pretty much just worked side-by-side on our computers for most of the day, but it was so nice to have some company during the workday. Sometimes those ordinary “routine” days are the best, ya know? Plus, my sweetie is the best thing for my productivity because he inspires me so much! He is extremely diligent and driven, so I tend to stay seated at my computer, booty-in-chair, writing writing writing, for longer periods than I might otherwise if I was on my lonesome. {I am the queen of snack and tea breaks when I am writing on my own at home! Anyone else the same way?}

For dinner we made BBQ baked chicken + herbed wild rice + a tomato, corn, avocado salad that I threw together without a recipe. It turned out delicious!

corn avocado tomato salad

I know that photo is kinda bad, but trust me, it was a goodie! All I did was boil an ear of corn, cut the kernels off the cob, and mix it up with one diced tomato and half of an avocado. {A whole ‘cado would probably be even better, but we only had half.} Then add some salt and pepper, mix it all up, and you’ve got a great side dish. Quick, simple, healthy = three of my favorite things when it comes to cooking!

Today Allyn had to take his car into the shop for a check-up, and I had some errands to run and laundry to do, so we are back to working separately. I’m hoping to get a lot of random items that have been languishing on the old to-do list finally CHECKED OFF today. We shall see! I’ve got my workstation going on the dining room table. And a bowl of oatmeal for lunch! Sometimes you just gotta give the body what it wants, and mine wanted oatmeal. 🙂

workstation

This week’s meditation comes from one of my favorite writers, Louisa May Alcott. Whatever you are up to today, I hope these words come at a good time for you and your beautiful aspirations:

aspirations quote

 Question of the day:

  • What are your highest aspirations?

grandma’s tortilla soup

As I’ve mentioned on here before, one reason I love living with my grandma is getting to spend time with her in the kitchen — she is teaching me so many wonderful recipes! {such as: curried butternut squash & apple soup / asian chicken curried salad / apple cake with brown sugar glaze … mmm!}

Today I have a new recipe to share, one of my very favorites, perfect for the drizzly weather we’ve been having here lately:

grandma tortilla soup.jpg

grandma’s tortilla soup
– 2 tsp olive oil
– 6 scallions, thinly sliced
– 3 cloves garlic, minced
– 1 cup diced tomatoes {canned or fresh}
– 3 cups reduced-sodium chicken broth
– ½ cup chopped cilantro
– ½ tsp oregano
– ½ tsp salt
– 1 cup frozen corn kernels
– 2 tbsp fresh lime juice

1. In a large saucepan, heat 2 tsp olive oil over low heat.

2. Add half the scallions and the garlic and cook about one minute, until scallions are tender.

3. Stir in tomatoes, broth, ÂĽ cup cilantro, oregano, salt, and bring to a boil. Reduce to a simmer, cover, and cook ten minutes.

4. Add corn and cook another few minutes.

5. To serve, stir in tortilla chips, remaining scallions, cilantro, lime juice.

Bonus: this soup makes the house smell aaaaaamazing!! Enjoy!

tortilla soup

if you like this recipe, you might also enjoy:
savory pumpkin & kale stew
crock-pot chicken & veggie stew
shrimp & sausage stew
creamy blended cauliflower & potato soup

my favorite quick, healthy + gluten-free breakfasts

I’ve recently began eating a gluten-free diet — my brother found out that he is allergic to gluten and feels much better on a gluten-free diet, and since we share the same genes I thought I would give it a try, too! Breakfast was the meal I felt most stumped by: my quick go-to breakfast used to be a whole-wheat english muffin or toast with peanut butter. I haven’t yet found a gluten-free bread loaf that I love, so I went back to the drawing board.

Here are four of my new favorite healthy, gluten-free breakfasts. They are delicious when enjoyed slowly over the morning newspaper, and are also perfect for busy mornings when you need to eat something quick!

1. Oatmeal with nut butter & fruit. Make sure you use gluten-free oats. I like topping mine with blueberries, walnuts, and a spoonful of almond butter.

oatmeal

2. Greek yogurt + fruit, with a handful of walnuts or almonds on the side. My favorite combo lately: plain greek yogurt + a drizzle of honey + a sliced banana.

yogurt and banana

3. A smoothie made with greek yogurt and/or a spoonful of nut butter, plus spinach & chia seeds of course! Right now I am loving a combo of strawberries + mango + a sliced peach. And here is a delicious looking recipe from Danica at It’s Progression that I am planning to try out this week.

smoothie

4. Homemade muffins topped with peanut butter. I try to make a batch of banana muffins or apple-cinnamon muffins {substituting a gluten-free flour blend for the wheat flour} every weekend, and then I get to enjoy them as breakfast and snacks throughout the week.

apple oatmeal muffins

What are your favorite quick, healthy breakfasts? Please share in the comments below!

gluten-free oatmeal chocolate-chip cookies

I have an easy recipe to share with you today — another winning gluten-free cookie!

gf chocolate oatmeal cokies

– 1/4 cup butter
– 1/2 tsp baking soda
– 1/2 tsp baking powder
– 1/2 cup brown sugar
– 1/2 cup agave or maple syrup
– 3 cups gluten-free rolled oats
– 1 cup chocolate chips
– 2 eggs
– 1/2 cup chopped walnuts
– 1 tsp vanilla
– 1 cup peanut butter

for chocolate drizzle:
– 1/2 cup chocolate chips
– 2 tbsp butter

1. Preheat oven to 350 degrees and line a cookie sheet with parchment paper.

2. In a large bowl, combine brown sugar, agave/maple syrup, and butter. Beat until creamy.

3. Add the eggs, vanilla, baking soda and baking powder and beat well.

4. Add peanut butter and mix.

5. Stir in oats, chocolate chips, and walnuts.

6. Drop by rounded tablespoons onto baking sheet and bake 10-12 minutes until lightly brown around edges.

7. To make chocolate drizzle: microwave chocolate chips and butter for 20 seconds. Stir until chocolate and butter and melted and well-combined, microwaving more if needed. {Be careful not to burn the chocolate!}

8. Once cookies are done, let them cool and then drizzle with melted chocolate.

Enjoy! I love these with a big glass of milk!

kitchen tip tuesdays: my favorite {healthy!} chicken salad

kttovenmittbanner425

Hi, friends! I have a quick, easy and healthy recipe to share with you today as part of Kitchen Tip Tuesdays! I love chicken salad but I don’t like mayonaise very much, so I was on a mission to find a healthier recipe for chicken salad that I could make at home. I think I found a winner!

I like to bake chicken breasts ahead of time during the weekend {see my earlier post about making the most of oven time} so I typically have cooked chicken breasts in a tupperware container in my fridge. Often to save time and extra dishes, I mix up the chicken salad in the tupperware container, and I’m ready to grab and go if need be!

chicken salad

healthier chicken salad
– 2 cups cooked, shredded chicken breast
– 1/2 cup plain Greek yogurt {you could add more or less yogurt as desired}
– 2 tbsp hummus
– 2 stalks celery, chopped
– 1/4 cup dried cranberries
– 1/4 cup slivered almonds
– salt and pepper to taste

1. Stir Greek yogurt and hummus into chicken until fully incorporated.

2. Add chopped celery, dried cranberries, slivered almonds, and mix well.

3. Add salt and pepper to taste. Enjoy!

It’s a great lunch, especially as the weather continues to warm up! I like serving the chicken salad over a bed of baby spinach.

chicken salad lunch

Have a great day! I’ll be back tomorrow with a post I’m really excited to share with you! 🙂

Till soon,
Dallas

MPM-Spring

This post is also linked up with Menu-Plan Mondays!

organizing your car’s glove box

Happy Friday, everyone! I have a quick and easy organizational project for you today!

ezzie glove box

Remember a few months ago, when I posted about making the most of long car rides? I mentioned how I like to bring small projects I can do in the car, like knitting or bill-paying or even cleaning up the clutter that’s accumulated in the car.

Well, during one car ride I brought a small accordian file folder {from the $1 section of Target — I’ve used similar folders to organize my stationary and take-out menus!} and I organized the glove box while I sat in the passenger seat. Now all the important auto-related documents are together and accessible in one easy-to-find place!

glove box organizer

All you need for this project is some sort of small file folder and a pen to label each section. I made sections for important documents like the car registration and insurance, instruction manual, receipts from maintenance, etc. I also included a map of the area and a notepad and pen.

When I was done fitting the documents inside, the file folder closed up and fit perfectly in my glove box. Hooray!

Now I feel better than ever hitting the road, knowing that I have all my car-related documents in one easy-to-find place! This is a great example of a simple, quick, inexpensive organization project that makes your life easier and less stressful.

Have a super weekend, everyone! And if you have a moment, send up a prayer for all of those in my hometown area who are being affected by a raging wildfire, including the heroic firefighters who are battling the blazes.

baked cinnamon french toast

Do you have stale bread to use up? This recipe for baked cinnamon French toast is a winner! As soon as I saw this drool-worthy recipe on The Pioneer Woman’s blog, I knew I had to make it.

The recipe would be perfect for a weekend brunch, and it’s so easy you could make it on a weekday, too! Here’s my recipe, slightly adapted from The Pioneer Woman’s original version:

baked cinnamon french toast

  • 1 loaf slightly stale sourdough or French bread
  • 8 eggs
  • 2 cups skim milk
  • 1/2 cup heavy cream
  • 1/2 cup brown sugar
  • 2 tbsp vanilla extract
  • 1 tbsp cinnamon

for the topping:

  • 1/2 cup flour
  • 1/3 cup brown sugar
  • 2 tsp cinnamon
  • 1/4 tsp salt
  • 1 stick cold butter
  • fresh fruit {optional}

1. Grease a 9 x 13-inch glass baking pan with butter. Tear bread into chunks (or cut into cubes) and evenly distribute in the pan.

torn bread

2. Beat eggs. Add the milk, cream, 1/2 cup brown sugar, 1 tbsp cinnamon, and vanilla.

3. Pour the egg mixture evenly over bread. Cover tightly and store in the fridge several hours or overnight.

with egg

4. In a separate bowl, make the topping: mix flour, 1/3 cup brown sugar, 2 tsp cinnamon, and salt.

5. Cut butter into small pieces.

6. Stir the butter into the flour mixture until it resembles fine pebbles. If you are baking the casserole in the morning, keep the topping in a plastic bag or container in the fridge until ready to bake.

7. When you’re ready to bake the casserole: preheat the oven to 350 degrees.

8. Remove casserole from the fridge and sprinkle flour crumb mixture over the top. {If you’re using fruit, sprinkle on before the crumb mixture. Next time, I’m going to try using apples. I think strawberries would be delicious, too!}

9. Bake for 45 minutes for a softer, more bread pudding texture. Bake 1 hour or more for a firmer, less liquid texture.

french toast

10. Scoop out individual portions with a large spoon. Top with more fruit if desired and drizzle with maple syrup.

Enjoy! Store any leftovers covered in the fridge and microwave to reheat. I enjoyed this dish for a decadent breakfast three days in a row. 🙂

How do you add little moments of luxury to your weekday routine?