goals and meal-plan for the week of 1/27

Hi everyone! Hope you’ve had a lovely weekend! A few snapshots from mine so far:

blueberry oatmeal

Oatmeal + blueberries … my favorite cozy wintertime breakfast!

blender

Blender all ready to make homemade hummus!

Here’s how I did on my goals from last week:

  • write 10 more pages of my YA novel
  • blog about Week 3 Act of Kindness Challenge & complete it myself this week
  • finish reading Best American Short Stories 2012 {I got side-tracked with a Judy Blume adult novel I checked out from the library!}
  • finish grading first assignment for both classes {Professional Email assignment}
  • knit 25 rows of the scarf I’m working on
  • go through stack of old magazines and purge!
  • send thank-you notes to the lovely people I met at the Key West Literary Seminar

And here are my goals for this upcoming week:

  • write 10 more pages of my YA novel
  • revise first 3 chapters of my thesis novel
  • blog about Week 4 Act of Kindness Challenge & complete it myself this week
  • finish grading the next assignment for both classes
  • submit at least 3 pieces to journals or theater companies
  • finish reading Best American Short Stories 2012
  • knit 25 more rows of the scarf I’m working on
  • clean out & organize filing cabinet

Finally, here are some recipes I’m planning to make this week:

hummus-crusted chicken
wheat-berry mock risotto
cilantro-honey-lime salmon
pumpkin pie

What are your weekly goals? What’s on your menu plan? Hope it’s another masterpiece of a week!

-Dallas

easy sausage, veggie & potato bake

Happy Thursday! I thought I would share a simple recipe with you today that my mom showed me back when I was home for Christmas. {Hard to believe that was a month ago!} It’s perfect for a cold winter night when you want to make something healthy and hearty — and an extra bonus is that it comes together really quick!

sausage potato veggie bake

easy sausage, veggie & potato bake

– 1 package of your choice of sausage {i like turkey sausage or chicken sausage}
– 1 medium onion
– 1 red bell pepper
– 1 green bell pepper
– 3 cloves garlic, minced {i used 3 tsp of pre-minced garlic}
– 2-3 lbs of small red potatoes {depending on your amount of potato love}
– 1 cup chicken broth {i like the low-sodium kind}
– salt & pepper to taste

1. Quarter the potatoes. Bring a pot of water to a boil and cook the potatoes for 10-15 minutes, until soft.

2. Brown the sausage in a skillet until cooked through.

sausage

3. While sausage and potatoes are cooking, roughly chop up the veggies. Combine in a big bowl with the garlic until well-tossed.

pepper and onion

4. Once potatoes are cooked through, drain the water.

potatoes

5. Once sausage is cooked through, transfer to a cutting board and slice into pieces.

6. In a glass baking dish, combine veggies, potatoes and sausage. Pour chicken broth over mixture. Add salt and pepper to taste.

7. Bake for 20 minutes in a 350 degree oven, until veggies are tender.

8. Serve plain or over rice! I like serving this dish with corn muffins.

What are your plans for this upcoming weekend? Mike and I are going to have a quiet night in tomorrow — I’m looking forward to cuddling up on the couch with a movie! {Looking to save money on date night? I compiled a list of some of my favorite strategies here.}

Till soon!
-Dallas

MPM-Winter

**This post is a part of Menu-Plan Monday!

cilantro-lime quinoa with chicken

Happy Wednesday, everyone! Hope your week is going great!

I’m excited to share this quick & healthy dinner recipe with you today: I adapted this recipe from LaaLoosh and made it a little heartier by adding chicken. {Her post lists it as a side dish; Mike and I ate it as a main dinner dish.}

cilantro-lime quinoa with chicken

  • 1 cup quinoa
  • 1 medium onion, diced
  • 1 yellow bell pepper, diced
  • 3 tsp minced garlic
  • 2 chicken breasts, diced
  • 2 cups fat free vegetable broth
  • a 4oz can green chiles
  • 2 tbsp lime juice {I used the juice of one lime}
  • 1/2 cup green onions, chopped
  • zest from 1 lime
  • 2/3 cup cilantro, finely chopped
  • salt and pepper to taste
  • optional: 1 jalapeno, seeded and finely chopped {I did not use a jalapeno because I am a wimp when it comes to spicy things, but I’m sure it would be tasty if you’re feeling daring!}

1. Spray a pot with non-fat cooking spray and set over medium high heat. Add the onion, bell pepper, chicken and garlic and sauté until tender and fragrant, about 7-8 minutes. {If mixture sticks to the pan, add in a bit of the broth to deglaze.}

2. Stir in chiles and cook for another 2 minutes.

3. Add in quinoa and remaining broth and bring to a boil.

4. Reduce heat to a gentle simmer, cover and cook until the quinoa is tender and most of the liquid has been absorbed {about 25 to 30 minutes.}

5. Add in remaining ingredients and fluff with a fork. Serve immediately.

This smelled SO good cooking! Mike and I were so hungry that I forgot to take a picture of our bowls before we began to eat. All I have for you is a picture of the meager leftovers in a Tupperware container, ready to go into the fridge for lunch the next day.

quinoa

You’ve just gotta trust me … it was delicious!!

This recipe is definitely a make-again for us! And with the mix of quinoa and chicken, it’s a healthy dish that will also keep you satisfied — perfect to get a healthy start on the new year.

What are some of your favorite healthy yet hearty recipes?

If you liked this post, you might also enjoy:
chicken & quinoa salad
honey-lime chicken enchiladas
crock-pot chicken w/black beans & corn

This post is linked up with Menu-Plan Monday!

MPM-Winter

saturday upsides: a cozy night in

saturdayupsidesbutton

Monday is the beginning of a new semester at Purdue, and I’m gearing up to teach my two courses: First-Year Composition and Business Writing. Being back in Indiana means returning to below-freezing temps and snow on the ground, in addition to transitioning from festive vacation mode back to the everyday stresses and obligations of my normal life. Yesterday was filled with meetings and course prep, and {as often happens when I travel} I feel my body fighting off a little bug that I probably picked up on the airplane coming back from California. I’ve been downing green tea, Airborne, and plenty of water, which is seeming to help! Fingers crossed I fight it off and am feeling rested and energized come Monday.

My Saturday Upside is that I am reminded again and again that so much of happiness is based on not what happens to you, but what you make of it. {Or, as Coach Wooden so eloquently phrased it: “Things turn out for the best for those who make the best of the way things turn out.”}

Instead of feeling stressed or nervous for the start of the new semester, I’m choosing to feel excited and hopeful that it will be a great one!

Instead of dreading a long day of meetings, I chose to focus my mental energy on how great it would be to see my friends and colleagues again after a few weeks away. And it was!

Instead of feeling bummed about fighting off a cold, it’s been a great reminder at the start of this new year to slow down and spend time taking care of my body.

I had the perfect cozy night in last night: an easy homemade chicken-and-quinoa recipe I’m eager to share with you soon, M&M brownies for dessert, and snuggling up on the couch with a Redbox rental. I’m looking forward to a laid-back, restful weekend!

What are your plans for the weekend? I’d love to hear your Saturday Upsides!

🙂 Dallas

what I wore to see “the nutcracker”

Happy Monday, everyone! It is a marvelous Monday for me because I am back home soaking up time with my family! When I am with them, I just feel so joyful and comforted. I love my family!

Yesterday afternoon my mom, Mike and I went to see a local ballet production of “The Nutcracker.” It is a tradition for my mom and me to see it together every year, and it was really nice to have Mike come along this year!

me and mike

The weather in Ventura has been beautiful and sunny — a welcome relief from the cold weather in Indiana — so I decided to take advantage of this and wear a skirt, tights, a short-sleeved blouse and light sweater.

what I wore to nutcracker

{The artwork in the background of this picture is a self-portrait done by my talented brother! Isn’t it great?}

You can’t quite see my shoes in this picture, but they are the same ones I wore to Thanksgiving dinner.

The ballet was terrific as always. Such a talented group of dancers! They amaze me with their poise and grace. And I love the music! It really gets me into the holiday spirit.

Afterwards, we came home and I made healthy turkey enchiladas for dinner. My Gramps joined us, and it was so wonderful to see him!

me and gramps

Hope your week is off to a lovely start! What are some of your favorite Christmas traditions?

xoxo,
Dallas

easy honey-lime chicken enchiladas

Tired of turkey leftovers? I was in the mood for Mexican food tonight, and when I saw this recipe for a honey-lime marinade for chicken, I was inspired! I turned it into a crock-pot recipe, added some diced onion and bell pepper, tortillas and cheese and green tomatillo sauce, and made honey-lime chicken enchiladas. They turned out del-i-ci-ous, and SO easy!

I made a small batch since it’s just Mike & me, but you could easily double or even triple this recipe to feed a bigger family. These enchiladas heat up great as leftovers and even freeze well for later meals.

honey-lime chicken enchiladas

– 2 large chicken breasts
– 2 tsp minced garlic
– 1/3 cup honey
– 1/3 cup lime juice
– 3 cups low-sodium chicken broth
– 1 small onion, diced
– 1/2 green bell pepper, diced
– 3 wheat tortillas
– 1 cup shredded reduced fat Mexican cheese
– 1 small can green enchilada sauce

1. Place chicken breasts in the bottom of the crock-pot. Add chicken broth, honey, and lime juice, and stir to combine. Cook on low for 4-6 hours.

2. Saute onion, garlic and bell pepper in a little olive oil over low heat for 3-5 minutes, until onion becomes translucent. Add ingredients to crock pot mixture and cook for another 1-2 hours.

3. The chicken mixture is done when chicken is fully cooked and most of the liquid has evaporated. If needed, take off the lid and turn heat to high for the final 15-20 minutes of cooking.

4. Turn off crock-pot and use a knife and fork to pull apart/shred the chicken.

5. Preheat oven to 325 degrees. Prepare an 8×8 glass baking pan by pouring about 1/3 of the can of enchilada sauce into the pan to coat the bottom.

6. Fill each tortilla with the shredded chicken mixture and a spoonful of enchilada sauce. Roll and lay into the pan. Pour the remainder of the enchilada sauce evenly over the tortillas and top with cheese.

7. Bake for 15-20 minutes, until cheese is fully melted and edges of the tortillas are a little crispy.

I served mine with brown rice and broccoli for a filling, healthy and delicious meal!

What are some of your favorite post-Thanksgiving, non-turkey meals? {Actually, this recipe would probably work well with turkey, too, now that I think of it!} 🙂

Hope you’re having a great week!
-Dallas

pumpkin pasta

Happy Thursday, everyone! I’m in a super happy mood because my brother Greg is arriving this evening for a long weekend visit! I’m leaving right after I finish teaching to go pick him up at the airport. I am sooooo excited to see him! 🙂

I have another new recipe to share with you today for pumpkin week! I made this last night after seeing a recipe on AllRecipes.com that compared this sauce to “inside-out pumpkin ravioli” … I’ve never had pumpkin ravioli but it sounds really delicious. So I thought I would give this pumpkin pasta sauce a whirl. And I’m so glad I did! It was even better than I expected.

I was starving when I got home from school this evening {a little later than usual because I had a meeting after class for Sycamore Review, the literary magazine I work for} so I discovered an added bonus of this recipe: it comes together pretty quickly! I made the sauce while the pasta was cooking, and the entire thing was ready to eat in about 15-20 minutes.

pumpkin pasta

– 1 package noodles of your choice {I used whole-wheat spaghetti; I think penne would also be delicious}
– 1 tbsp butter
– 1 tbsp flour
– 1 small onion, diced
– 1 tbsp minced garlic
– 1 zucchini, diced
– 2 cups low-sodium chicken broth
– 1/2 cup skim milk
– 1 cup pumpkin puree
– 1 tsp onion powder
– 1 tsp garlic powder
– 1 tsp chili powder
– 1 tsp pumpkin pie spice
– salt & pepper to taste
– grated Parmesan cheese to taste

1. Bring a pot of water to a boil and cook pasta according to package directions.

2. While pasta is cooking, melt butter in a large pot and saute onion, garlic and zucchini. Add flour and stir to make a rue.

3. Add the chicken broth, milk, and pumpkin. Stir together until well blended.

4. Add the onion powder, garlic powder, chili powder, pumpkin pie spice, and salt and pepper.

5. Simmer for 10-15 minutes, until sauce reaches desired thickness.

6. Drain the pasta. Add sauce to the drained pasta, and toss with the Parmesan cheese. Enjoy!

I served mine with fresh baked French bread. It was the perfect complement to the pasta and I loved mopping up the sauce at the bottom of my bowl with the warm bread. {Something I wouldn’t do in a restaurant, but at home it seems okay!} 🙂

Hope your week is going great! Tomorrow, I’ll have a classic pumpkin recipe for you to wrap up the work week: pumpkin pie!

-Dallas

——————–

– Time: 20 mins
– Cost: about $8

crock-pot chicken & veggie stew

Confession: I used to be afraid of crock pots.

It sounds silly, I know. I guess crock pots just sounded too good to be true! Throw a bunch of food in a crock pot, turn it on, go to work all day, then come home and dinner is ready? Are you sure there isn’t a catch?

I was worried about leaving something on all day in the kitchen without anyone being home. Isn’t that dangerous?

“No,” my mother told me. No, said the blogs and resources I scoured online.

“Why don’t you try it?” Mike encouraged me. He could tell I was wanting to make the leap into crock-pot cooking ever since I glimpsed the beautiful 4-quart brand-new crock pot his mom had bought him that he’d never taken out of the box.

A new era has dawned in our tiny apartment kitchen. Today I took that baby out of the box, rinsed the pot and lid with soap and water, and plugged it in. For my first crock-pot attempt, I tried something simple: chicken & veggie stew.

This recipe could not be easier or quicker. It took me ten minutes to prepare as I rushed to get ready and out the door for school this morning. Here is the recipe I used; you could easily substitute other veggies based on your preferences or what happens to be in your pantry.

crock-pot chicken & veggie stew

– 3 or 4 chicken breasts
– 1 medium-sized sweet potato
– 2 carrots
– 2 celery stalks
– 1 can corn, drained
– 1 can peas, drained
– 1 can green beans, drained
– 1 can chicken broth
– 1 tbsp garlic or onion powder
– 1 tsp chili powder
– 1 tbsp parsley

1. Dice the potato. Peel and slice the carrots and slice the celery.

2. Dump veggies into the crock pot.

3. Add chicken breasts on top.

4. Pour chicken broth over everything.

5. Cook on low for 6-8 hours.

6. 30 minutes before serving, sprinkle chicken with garlic/onion powder, chili powder, and parsley.

All day long, I thought about dinner simmering at home in the crock pot. Whenever I worried about something catching fire and the apartment burning down, Mike reassured me it would all be okay. {If you haven’t guessed by now, I can be a bit of a worry-wort sometimes!}

When we returned home this evening and opened the front door, a delicious aroma greeted us. The stew turned out fantastic! Yummy, warm, healthy, hearty … and ready to eat as soon as we stepped inside. What a treat to have a homemade dinner waiting for us on the kitchen counter!

It’s official: I am a crock-pot convert. I can’t wait to try all sorts of new slow-cooker recipes and share them with you on this blog. Please chime in below if you have any recipes or links to share!

Here are some helpful slow-cooker tips that recently were shared on one of my favorite blogs, I’m an Organizing Junkie:

Do you use a slow cooker to prepare meals? What are some of your favorite crock-pot recipes? How do you save time when making dinner on a busy weeknight?

Have a wonderful day!
-Dallas

the pantry challenge + white chicken chili with corn muffins recipe

Confession: my pantry is a bit of a jumbled mess.

I’ve tried organizing it multiple times, but no matter how I sort through all of the cans, jars and boxes, it always looks messy. I finally realized the problem is that I simply have too much stuff crammed in there! So many cans and boxes and mixes that it’s impossible to even know everything that I have. So when I go to the store, I inevitably buy new cans and jars of stuff that is already buried in the back of my pantry. What a waste!

So, inspired by this post by Jill at the lovely blog Reini Days, I’ve made a resolution to use up all the food in my pantry that I already have. I’m not going quite so hardcore as Jill and her family did — I am still giving myself permission to buy new food and ingredients that I don’t currently have if necessary. But I will make an effort each week when doing my meal-planning to make recipes centered around ingredients that already live in my pantry before I go out and buy new things at the store.

The other night, I got my new pantry challenge off to a great start when I made a big batch of chili! I had friends over for Labor Day dinner and I made two big pots of chili. Look at all the cans & boxes from my pantry that I used in this single night:

Count ’em! That’s eight cans and two boxes for a total of ten items that were languishing in my overstuffed pantry! Perfect way to kick off the challenge I’ve set for myself.

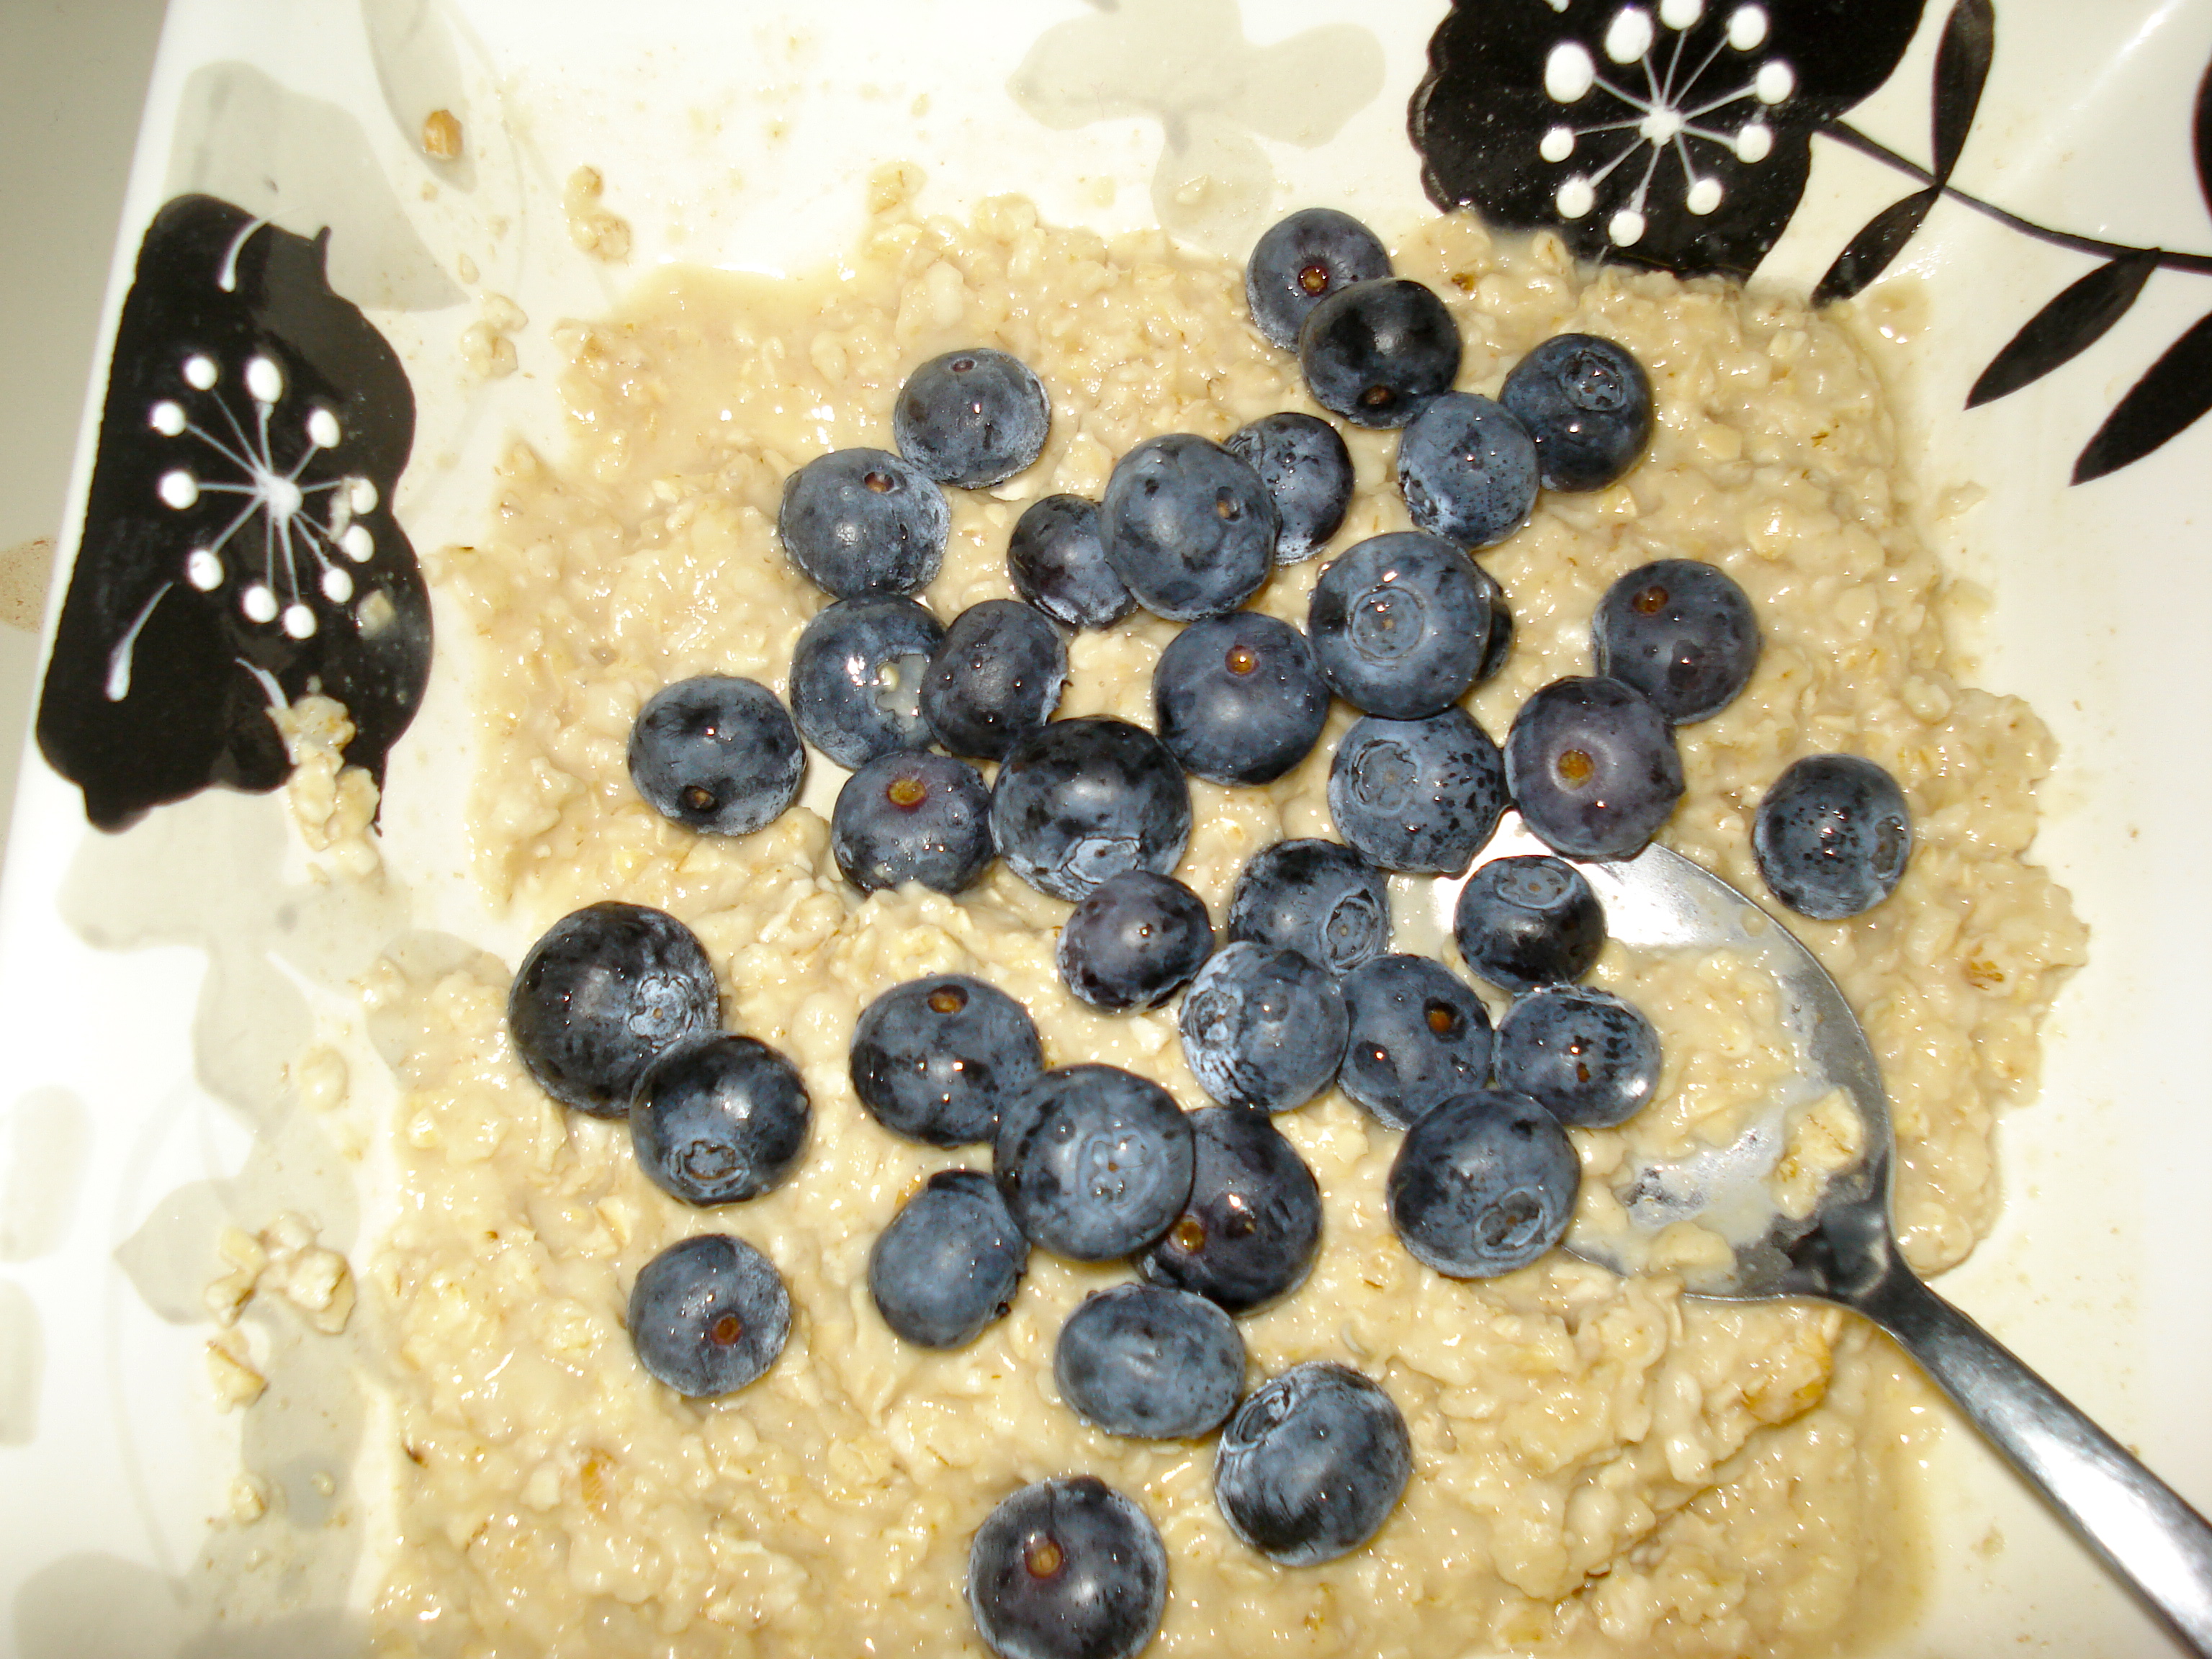
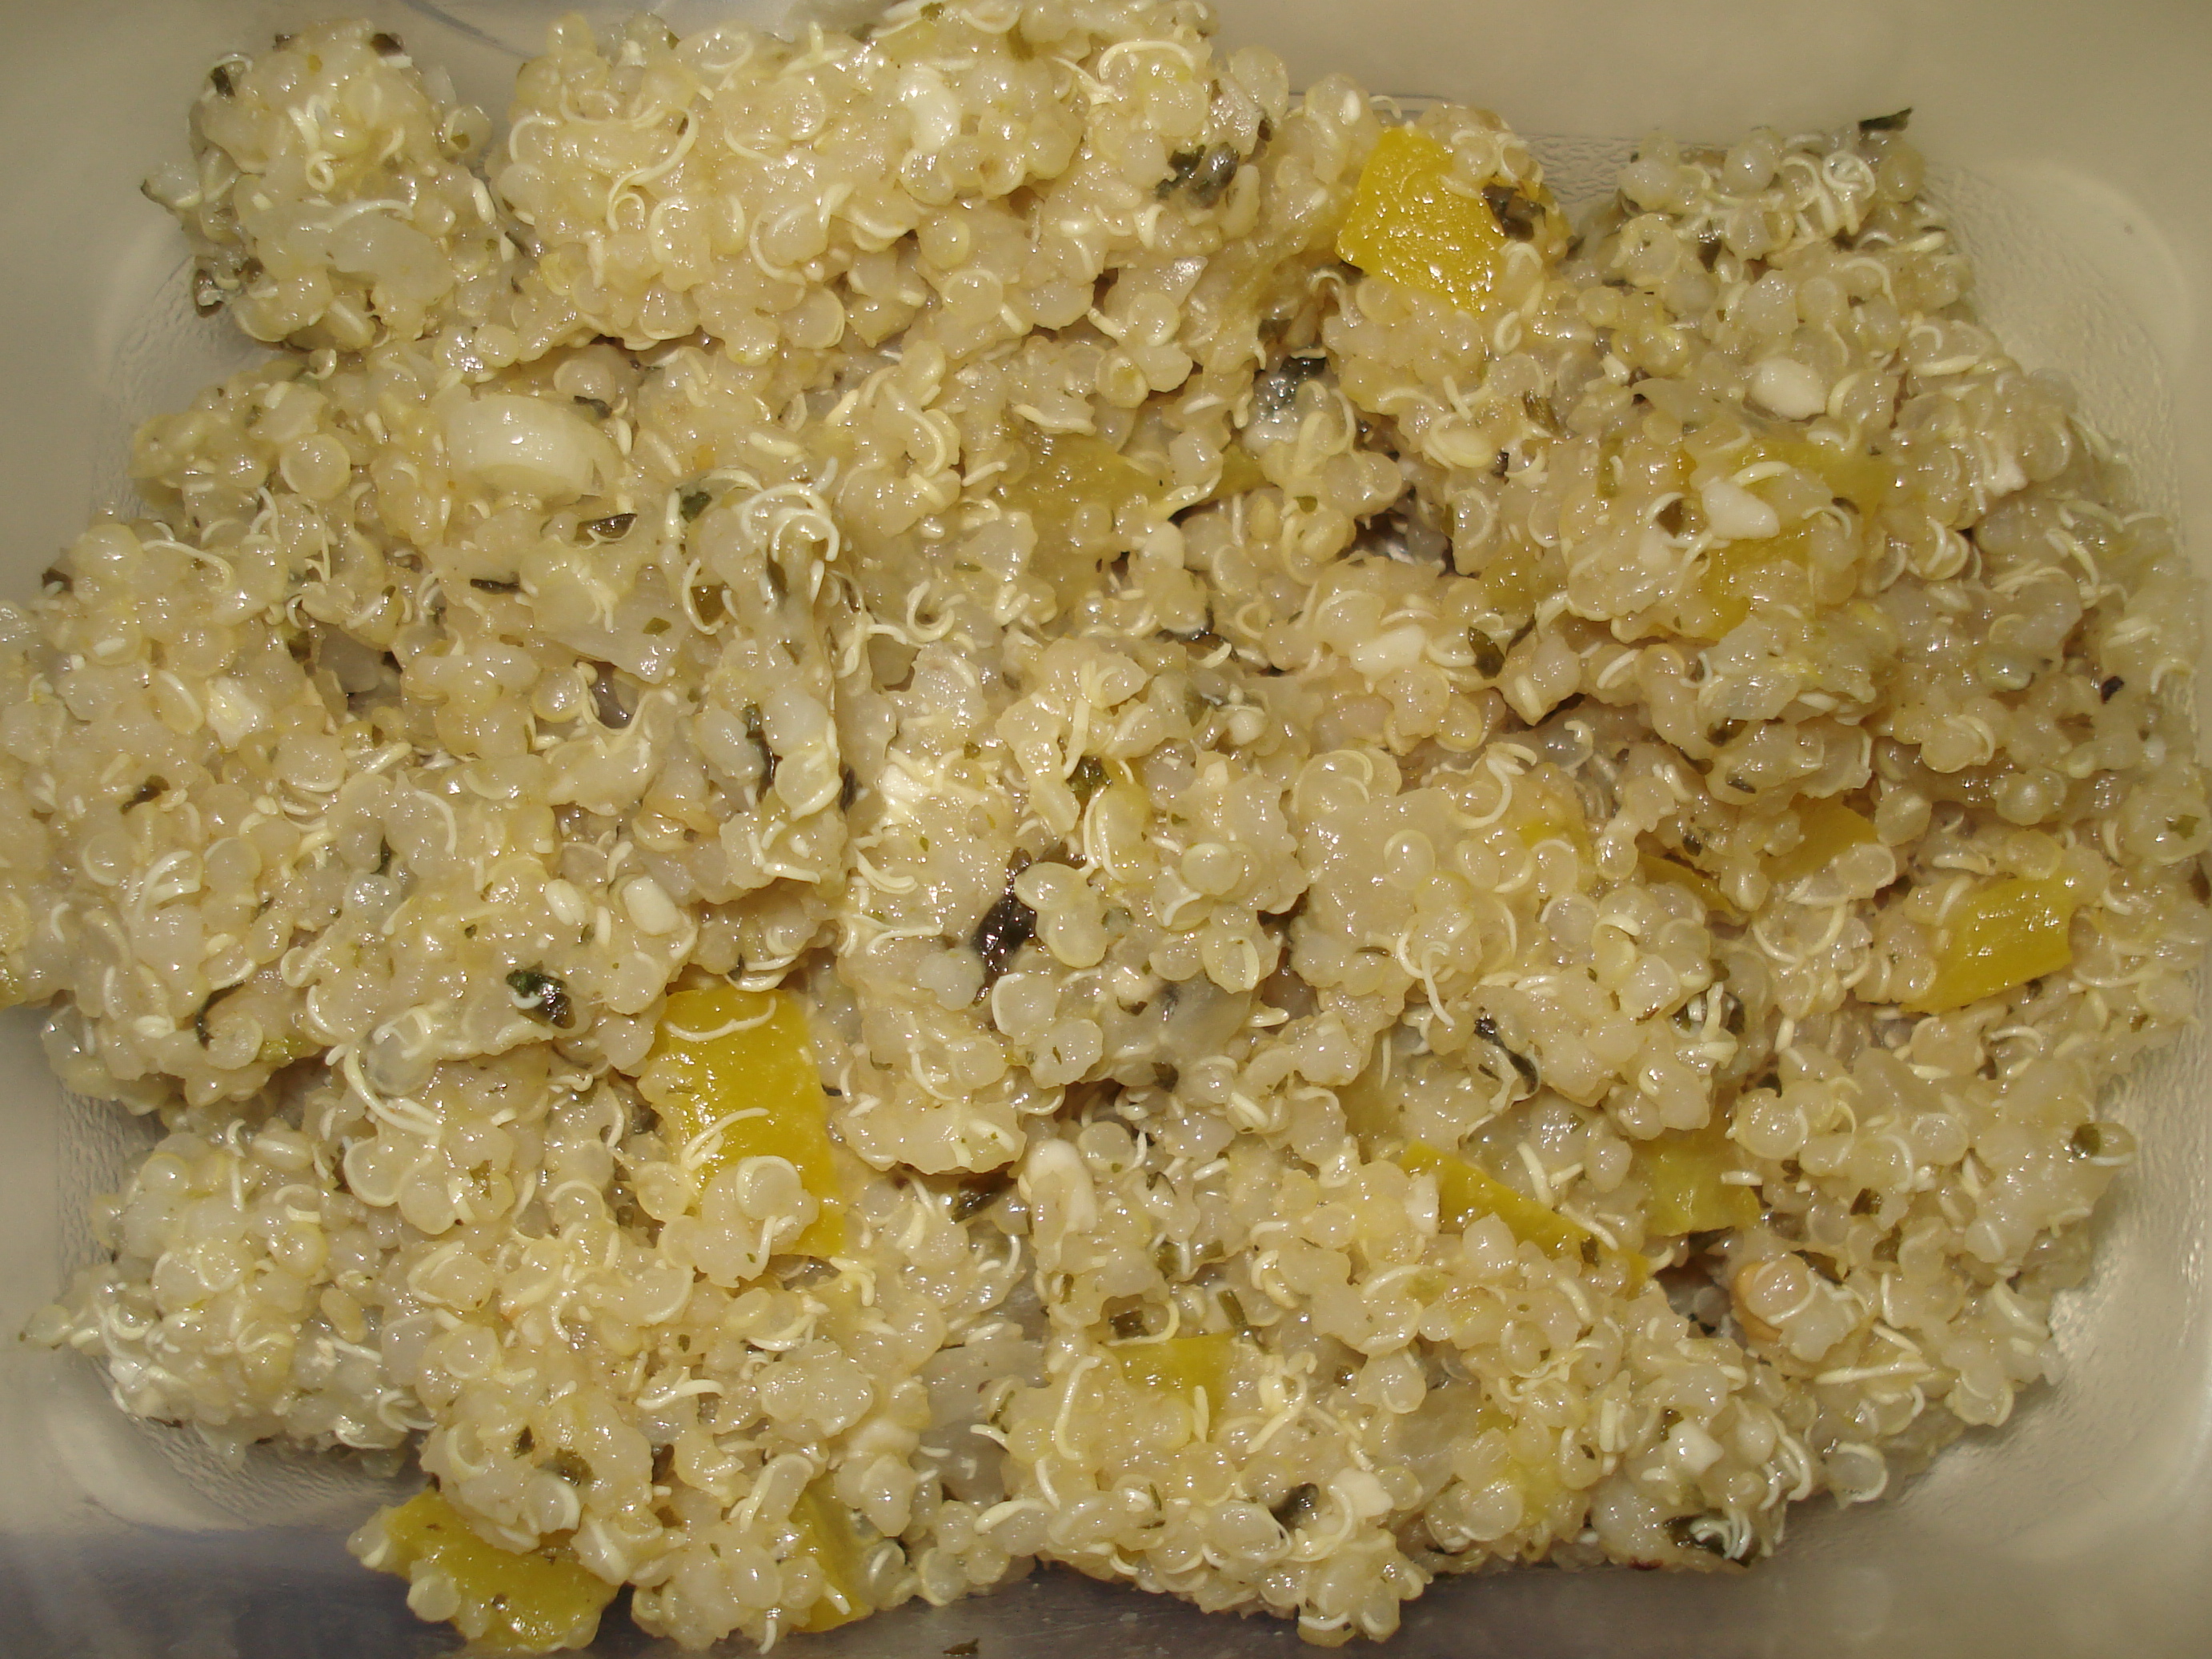
Since I had seven friends over, I made two big pots of chili. In one pot, I made a tomato chili recipe from my mom that I am looking forward to sharing with you in the near future. In the other pot, I made a white chicken chili that was delicious and is perfect for anyone who is sensitive to high-acid foods such as tomatoes or suffers from heartburn because this chili is tomato-free! This is the recipe I’m going to share today. I call it “California-style” because I think it’s best served with sliced avocado on top!

california-style white chicken chili

– 1 package chicken breasts or chicken breast tenderloins
– 1 green bell pepper
– 1 orange or yellow bell pepper
– 1 tsp mixed garlic
– 1 tbsp olive oil
– 1 can white beans {I used organic great northern beans}
– 1 can corn
– 1 package white chili seasoning
– 1/4 cup water
– 1 medium avocado

1. Pour the olive oil and garlic into the bottom of a large pot. Turn heat on low. Dice the bell peppers and pour into the pot. Cook for 5-10 minutes, until pepper begins to soften.

2. While pepper is cooking, cut the chicken into bite-sized pieces and set aside.

3. Drain the can of beans and corn and pour both into the pot.

4. Add the chicken, water and white chili spice packet and bring chili to a boil.

5. Turn heat down a little and simmer the chili for 20-30 minutes {or longer if you have the time … the chili gets more and more flavorful the longer you cook it. YUM!}

6. Before serving, top chili with diced avocado if desired.

My friend Xun who came over for dinner absolutely loves cornbread, so I served the chili with corn muffins, which were super easy to make. I just used a Jiffy boxed cornbread mix and poured the batter into muffin tins instead of a bread pan.

jiffy corn muffins

– 1 package jiffy cornbread mix
– 1 small can corn
– 1 egg
– 1/3 cup milk or buttermilk

1. Preheat over to 400 degrees.

2. Combine cornbread mix, egg and milk.

3. Drain can of corn and add to the batter. Mix thoroughly.

4. Pour batter into paper-lined muffin tin and bake for 20-25 minutes, until a toothpick inserted in the center of a muffin comes out clean.

Each box of mix yields about six muffins. For our get-together, I used two boxes and doubled the ingredients.

These were fantastic! We had a bit of each kind of chili left-over, but the corn muffins were all gobbled up by the night’s end!

It was a really fun night, and chili is such a relaxing meal to cook — all you really need to do is plop all the ingredients in the pot and let it simmer until you’re ready to eat. Perfect for having people over and wanting to spend your time visiting rather than slaving away in a hot kitchen.

So, does anyone else want to join the challenge with me? I’m excited to update you on my progress as I try out new recipes to clear out my pantry!

Have a great day–
Dallas

——————————

-Time spent: 1 hour {including cook time}
-Cost: about $10 {though I had almost all the ingredients in my pantry already, hooray!}

MPM-Winter
This post is linked up to Menu-Plan Monday at I’m an Organizing Junkie!

meal planning whiteboard

Happy Friday, everyone! I must admit I am really feeling the TGIF vibe today. I love teaching, but the first week back at school always seems so loooong … I think because everything is new, I’m learning all my students’ names, figuring out my new schedule, etc. I’m looking forward to a weekend of recharging my batteries and getting ahead for the upcoming week!

Over the past few months, I’ve gotten really into reading different organization and recipe blogs {you can find links some of my favorites here.} Something I’ve seen recommended again and again is using meal-planning to get organized, save time, and save money. For as much as I like to cook, I’ve never been a weekly meal-planner. I’m the type of person who decides what to make for dinner that morning, at lunch, or even sometimes when staring into my half-empty fridge, stomach rumbling, trying to figure out what I can throw together quickly for a meal.

And you know what? It can be stressful! One of my least favorite things is heading home after a long day with no idea of what to do for dinner. Those are the days I will end up grabbing food out somewhere. I do enjoy eating out in restaurants, but I like it best when it’s something planned in advance, something I can look forward to all day — it feels more special that way.

Which all goes to say, I’ve been thinking about implementing a meal-planning schedule into our routine for a while. This week, with the beginning of a busy new school year, I finally did something about it!

I went to Target yesterday and in the back-to-school aisle I found this adorable whiteboard with a blue frame and attached pen — plus, it had a magnet on the back. Just what I needed! Best part of all: I snagged it for only $3.00.

All I had to do was take it out of the packaging, slap it up on the fridge, and write out my planned menu for the week. On Tuesday Mike and I are planning to go to Outback Steakhouse for dinner to use a gift certificate we have, and on Friday I’m getting together with my friends Xun and Hai for dinner.

I chose to place the whiteboard on the side of the fridge where I’ll see it every time I walk into the kitchen. I hung it right above a monthly calendar/newsletter I get from the apartment complex. It’s my new “information station”!

It makes me feel so great to have the week sketched out like this — no more stress wondering what to have for dinner! And I think planning out the week this way will help save money {and last-minute grocery trips to get that one ingredient I don’t have…}

Do you use weekly meal-planning? I’d love to hear any of your tips!
-Dallas

————————–

Time spent: 5 minutes
Cost: $3.00